Happy Halloween Quilt Pattern 2024: A Spooktacular Guide To Creating A Hauntingly Beautiful Masterpiece
Happy Halloween Quilt Pattern 2024: A Spooktacular Guide to Creating a Hauntingly Beautiful Masterpiece
Related Articles: Happy Halloween Quilt Pattern 2024: A Spooktacular Guide to Creating a Hauntingly Beautiful Masterpiece
- Celebrate The Spooktacular Season With A Happy Halloween Outdoor Banner In 2024
- Celebrate The Spookiest Night With A Happy Halloween Printable Banner 2024
- Happy Halloween 2024: A Spooktacular Guide To The Best Celebrations
- Happy Halloween Printable Images 2024: Spooktacular Decorations For Your Festive Celebrations
- Happy Halloween Outdoor Sign 2024: Illuminate Your Night With Spooky Cheer
Introduction
With great pleasure, we will explore the intriguing topic related to Happy Halloween Quilt Pattern 2024: A Spooktacular Guide to Creating a Hauntingly Beautiful Masterpiece. Let’s weave interesting information and offer fresh perspectives to the readers.
Table of Content
Video about Happy Halloween Quilt Pattern 2024: A Spooktacular Guide to Creating a Hauntingly Beautiful Masterpiece
Happy Halloween Quilt Pattern 2024: A Spooktacular Guide to Creating a Hauntingly Beautiful Masterpiece

Halloween, a time of year when the veil between the living and the dead grows thin, is a magical time to celebrate with loved ones and create memories that will last a lifetime. And what better way to capture the spirit of the season than by crafting a unique and enchanting Halloween quilt?
In this comprehensive guide, we will delve into the intricate details of the Happy Halloween Quilt Pattern 2024, providing you with step-by-step instructions, expert tips, and a wealth of inspiration to help you create a truly unforgettable masterpiece.
Materials You’ll Need:
- Assorted Halloween-themed fabrics in various colors and patterns
- Coordinating thread
- Quilt batting
- Quilt backing
- Rotary cutter and cutting mat
- Ruler
- Fabric scissors
- Sewing machine
- Iron and ironing board
Step 1: Choosing Your Fabrics
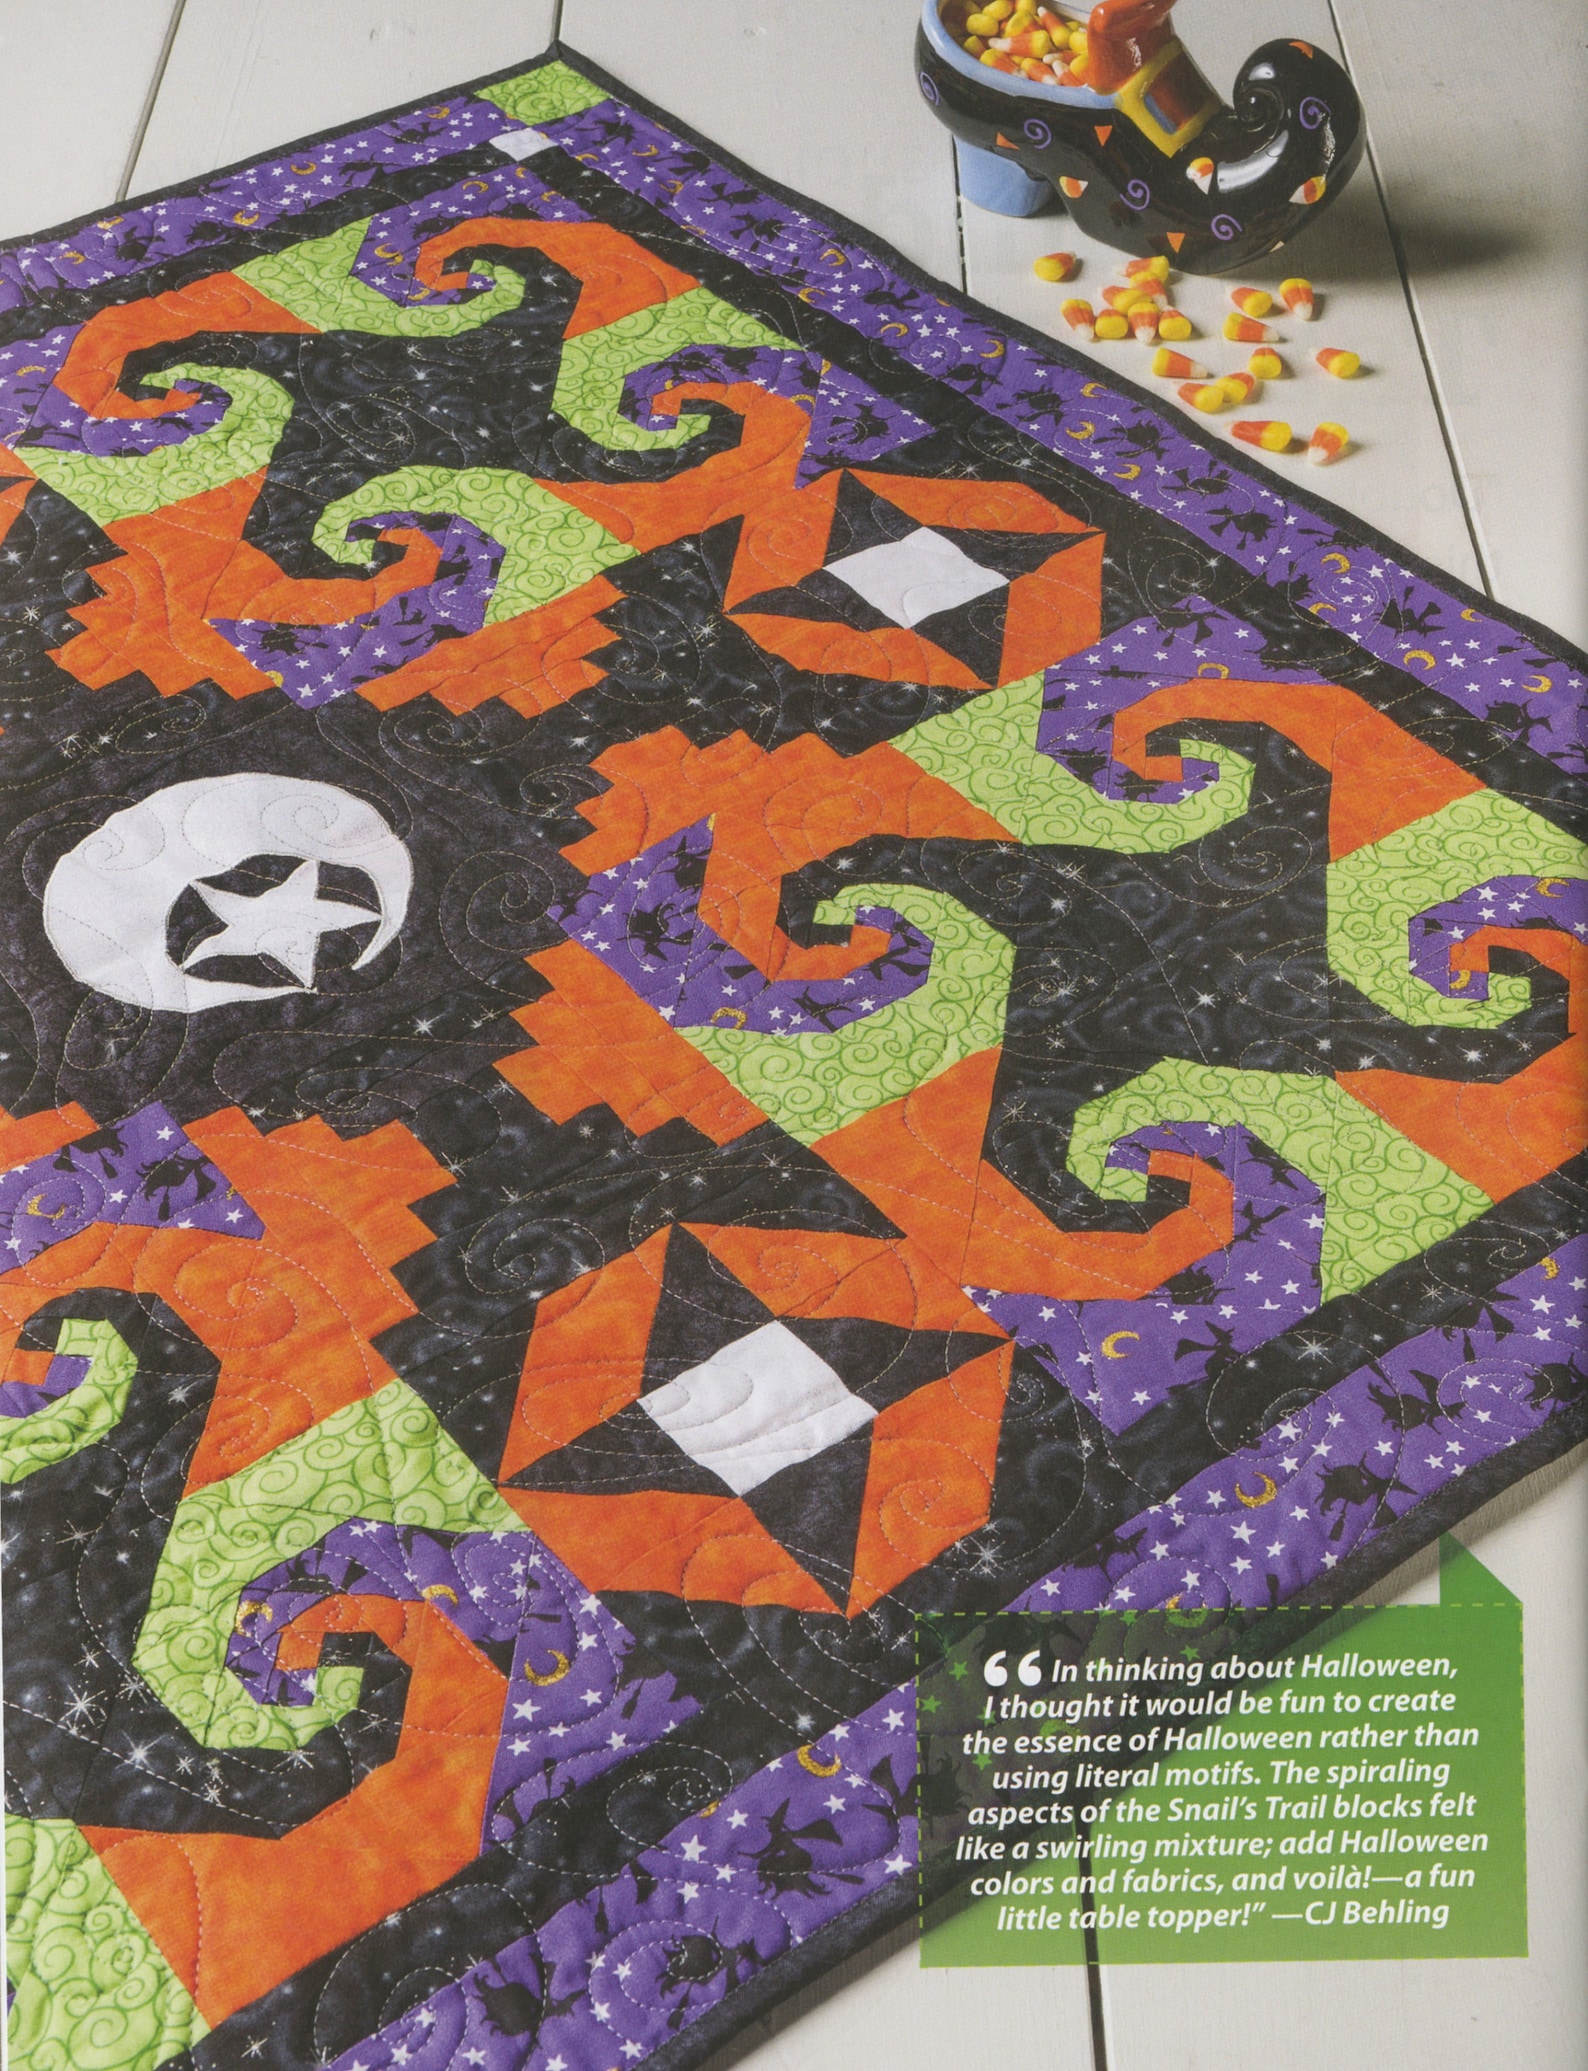
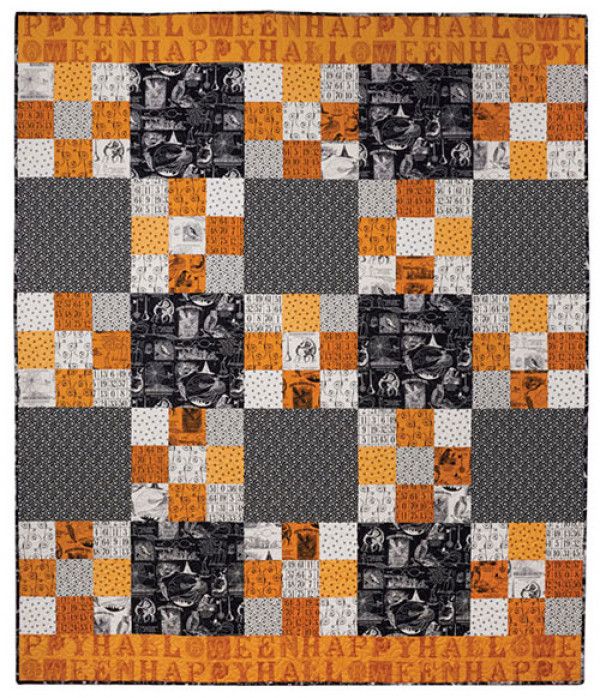
The key to a captivating Halloween quilt lies in the careful selection of fabrics. Consider using a mix of solids, prints, and textures to create visual interest and depth. Opt for fabrics that evoke the spirit of the season, such as black, orange, purple, and green. Don’t be afraid to experiment with different patterns, such as stripes, polka dots, or even spooky silhouettes.
Step 2: Cutting the Fabric
Once you have your fabrics selected, it’s time to cut them into the desired shapes. For this pattern, you will need to cut:
- (12) 10-inch squares from the main fabric
- (12) 5-inch squares from the secondary fabric
- (12) 2-inch squares from the accent fabric
Step 3: Assembling the Blocks
Now comes the fun part: assembling the quilt blocks. Start by sewing the 5-inch squares to opposite sides of the 10-inch squares. Then, sew the 2-inch squares to the remaining two sides of the 10-inch squares. Press the seams open to create crisp edges.
Step 4: Creating the Quilt Top
Once all the blocks are assembled, it’s time to arrange them into a quilt top. Experiment with different layouts until you find one that you love. Sew the blocks together using a quarter-inch seam allowance. Press the seams open to ensure a flat and even quilt top.
Step 5: Quilting the Quilt
The next step is to quilt the quilt top to the batting and backing. This can be done by hand or machine. Choose a quilting pattern that complements the quilt design, such as straight lines, curves, or free-motion quilting.
Step 6: Binding the Quilt
The final step is to bind the quilt to prevent fraying and give it a finished look. Cut strips of fabric that are 2.5 inches wide and long enough to wrap around the entire quilt. Sew the strips together and press the seams open. Fold the binding over the raw edges of the quilt and stitch in place.
Expert Tips for a Spooktacular Quilt:
- Use a variety of stitches: Experiment with different stitches to add texture and interest to your quilt. Try using a zigzag stitch for the borders or a decorative stitch for the applique.
- Incorporate embellishments: Add a touch of whimsy to your quilt by incorporating embellishments such as beads, sequins, or embroidery.
- Personalize your quilt: Make your quilt truly unique by adding a special touch, such as a monogram or a handwritten message.
- Don’t be afraid to make mistakes: Quilting is a learning process, and mistakes are bound to happen. Don’t let them discourage you. Embrace the imperfections and make them part of the charm of your quilt.
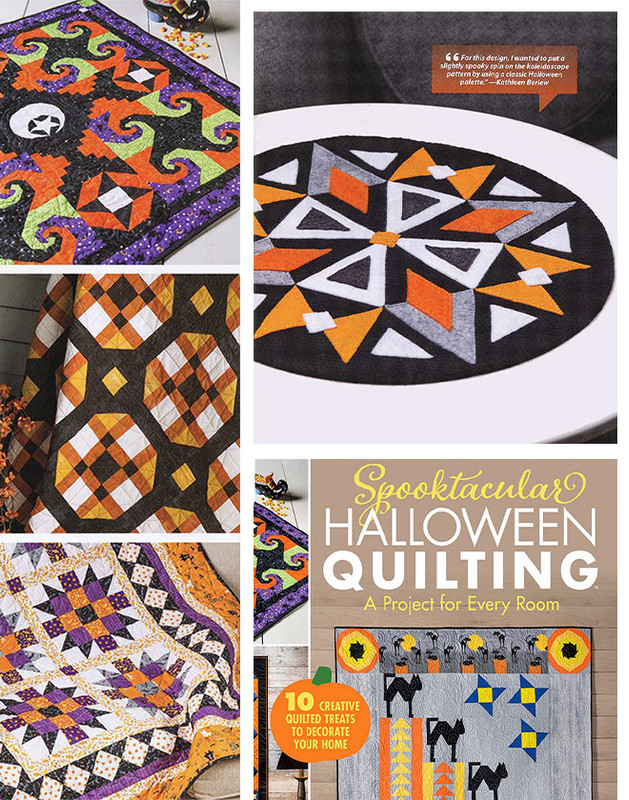
Inspiration for Your Halloween Quilt:
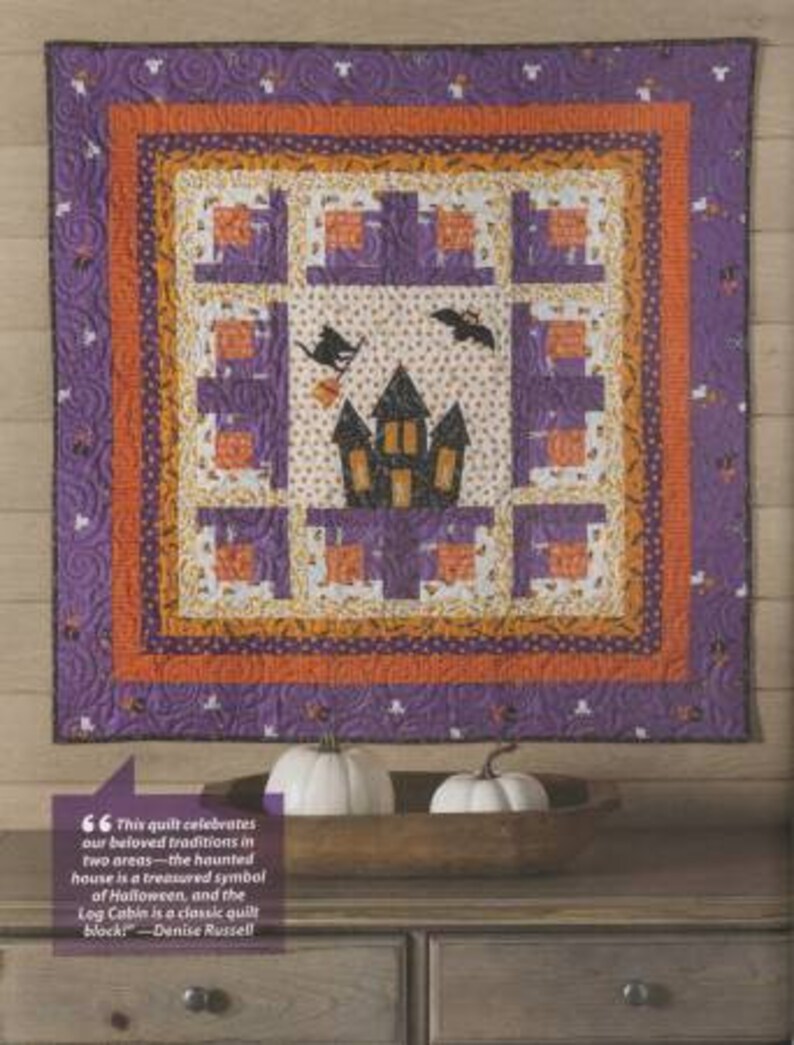
- Haunted House: Create a spooky silhouette of a haunted house against a moonlit sky.
- Jack-o’-Lanterns: Applique or embroider jack-o’-lanterns onto your quilt, each with a unique expression.
- Bats and Spiders: Incorporate bats and spiders into your quilt design, using black and orange fabrics to create a creepy and crawly effect.
- Witches and Ghosts: Applique or embroider witches and ghosts onto your quilt, adding a touch of whimsy and magic.
- Candy Corn: Create a quilt that resembles a pile of candy corn, using yellow, orange, and white fabrics.
Conclusion:
The Happy Halloween Quilt Pattern 2024 is a delightful and versatile pattern that will help you create a truly unforgettable Halloween masterpiece. By following the step-by-step instructions and expert tips provided in this guide, you can craft a quilt that will bring joy and spookiness to your home for many Halloweens to come. So gather your fabrics, unleash your creativity, and let the spirit of the season guide you as you embark on this enchanting quilting journey.


Closure
Thus, we hope this article has provided valuable insights into Happy Halloween Quilt Pattern 2024: A Spooktacular Guide to Creating a Hauntingly Beautiful Masterpiece. We hope you find this article informative and beneficial. See you in our next article!